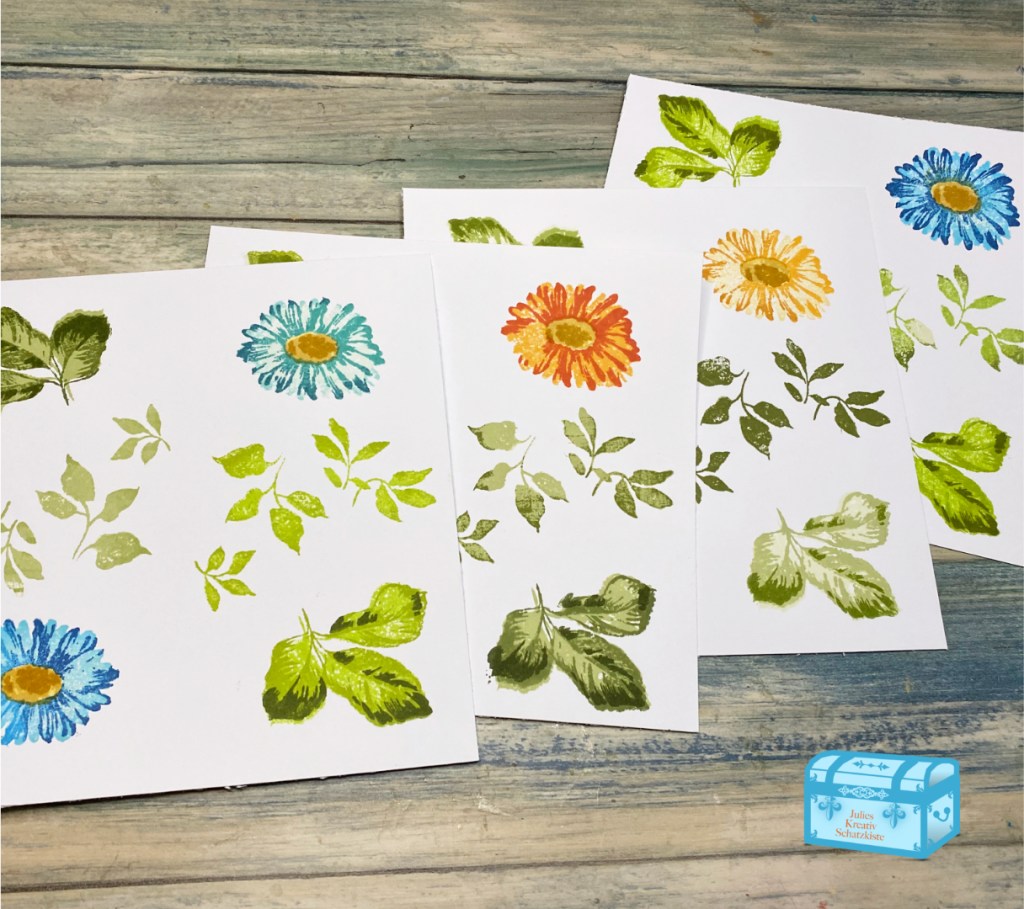
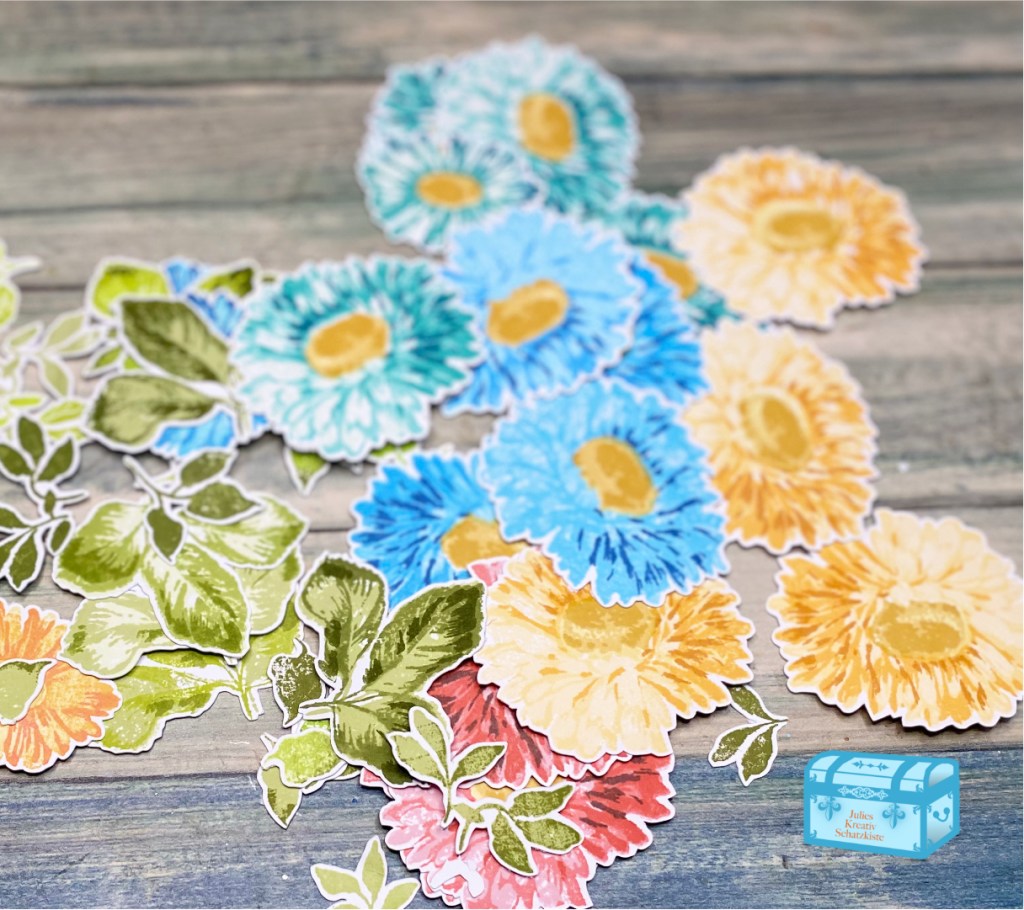
Meine heutige Karte wurde von Altenews Online-Kurs „All about Layering 4“ von Lydia Evans inspiriert. Ich muss zugeben, ich war bisher kein großer Fan von Layering Stamping (weil ich es nie richtig hinbekommen habe), aber als ich die wunderschönen Ergebnisse im Online-Kurs sah, habe ich es „ein letztes Mal“ ausprobiert. Und was soll ich sagen, ich bin so begeistert vom Ergebnis, dass ich Layering Stamps tatsächlich noch oft verwenden werde. Aber fangen wir von vorne an …
My card today was inspired by Altenew’s online class „All about Layering 4“ by Lydia Evans. I have to admit, I have not been a fan of layered stamping (because I never got it right), but when I saw the beautiful results in the online class, I tried it „one last time“. And what can I say, I am so in love with the result, that there actually will be many more times I will use layering stamps. However, lets start at the beginning…
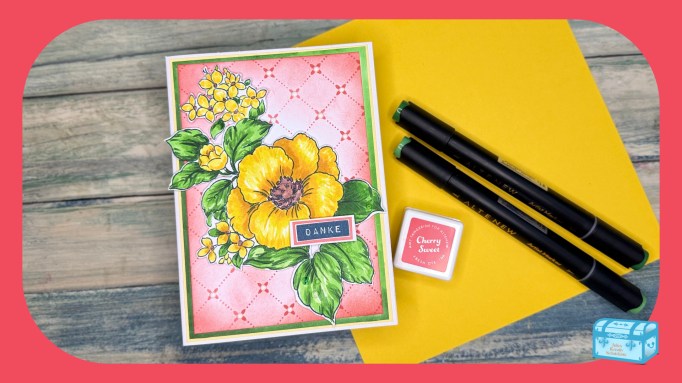
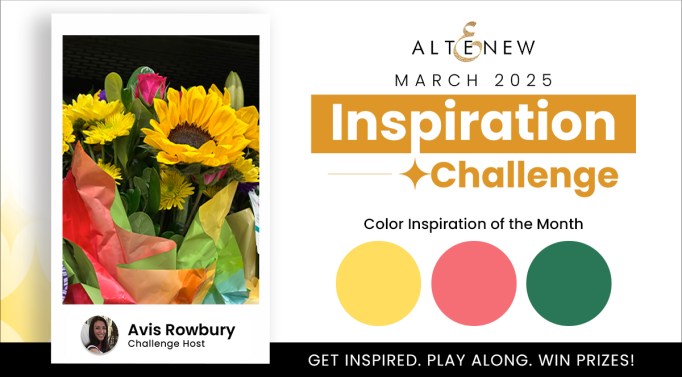
Ich habe mir kürzlich neue Altenew Alkoholmarker Set zugelegt und musste das natürlich testen. Nachdem ich das Bild fertiggestellt hatte, entdeckte ich zufällig, dass die von mir gewählten Farben perfekt zur Altenew Inspiration Challenge für März 2025 passen.
I recently acquired new Altenew Alcohol Markers and of course I had to test them. After finishing the image, I discovered by coincidence that the colors I chose were perfect for the Altenew March 2025 Inspiration Challenge
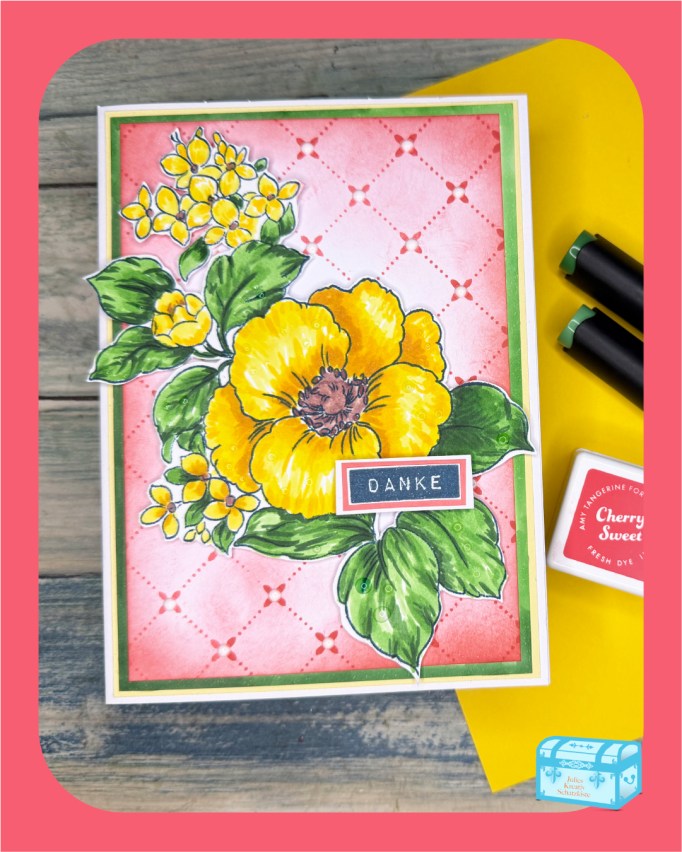
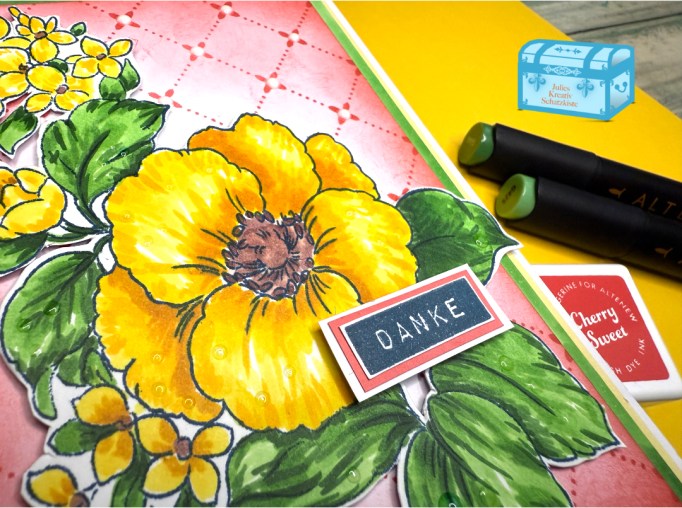
Die einzige fehlende Farbe war Rot, die ich durch Blending und einen Hintergrundstempel hinzugefügt habe.
The only color missing was red which I added with ink blending and a background stamp.
Mir gefällt das Ergebnis der Karte sehr gut (und ich liebe die Alkoholmarker von Altenew, da sie das Verblenden wirklich einfach machen!).
I really like how the card turned out (and I looove the Altenew Alcohol Markers, as they make the blending really easy!
Supplies Used / Verwendete Materialien:
Altenew, Sunshine Valley Garden Artist Markers Set F
Altenew, Craft Your Life Project Kit: Chocolate Flowers
Altenew, Carnival Magic Fresh Dye Ink Mini Cube Set
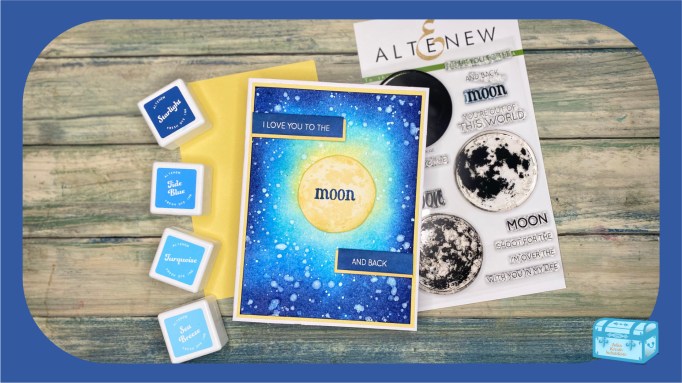
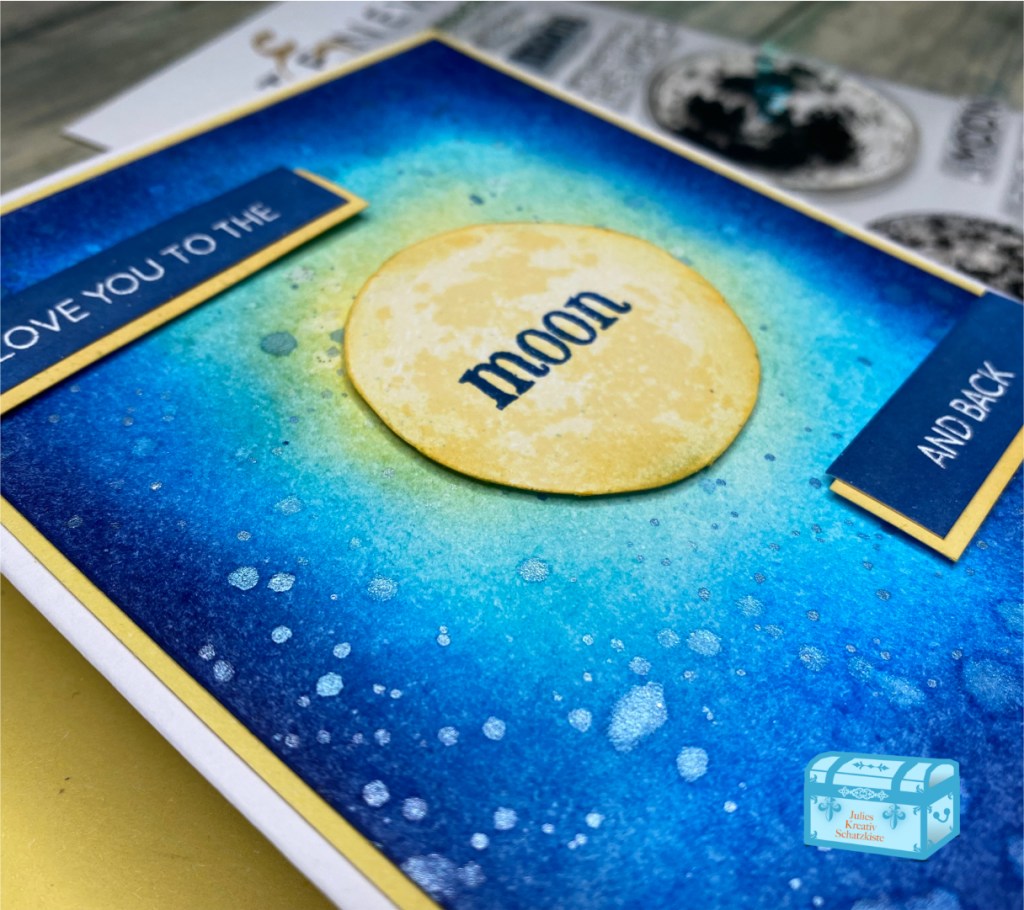
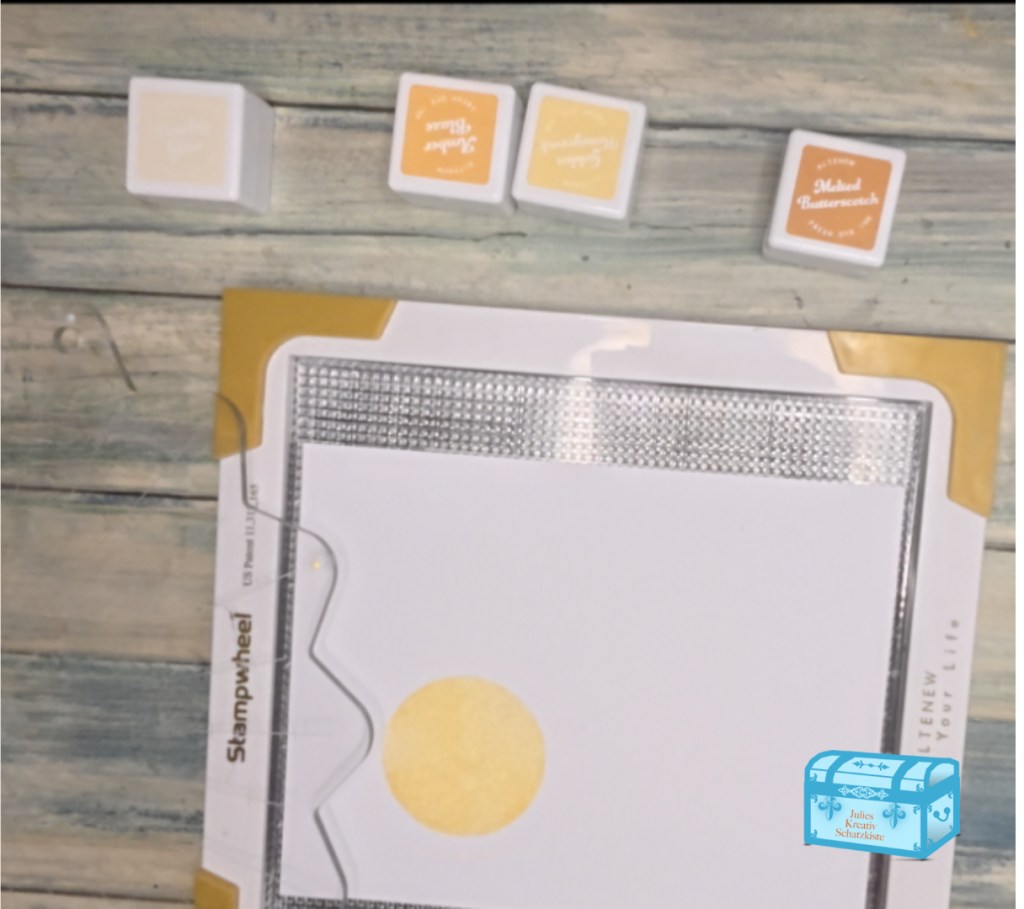
Nach dem Altenew Online-Kurs „Für Jungs“ war ich total inspiriert, eine Galaxie mit geblendetem Hintergrund zu gestalten. Das passte perfekt zu meinem neu erworbenen Stempelset „Zum Mond“. Ich begann mit dem Mondstempel, verwendete aber nur zwei der drei Schichten des Stempelsets, da mir der Look besser gefiel. Ich verwendete die helleren zwei Farbtöne des Sun-Kissed Delights Dye Ink Sets.
After the Altenew Online Class „For the Guys“, I was really inspired to make an ink-blended galaxy. This fit perfectly with my newly acquired stamp set „To the Moon“. I started out by stamping the moon, although I just used two of the three layers in the stamp set, as I preferred the look. I used the lighter two shades of the Sun-Kissed Delights Dye Ink Set.
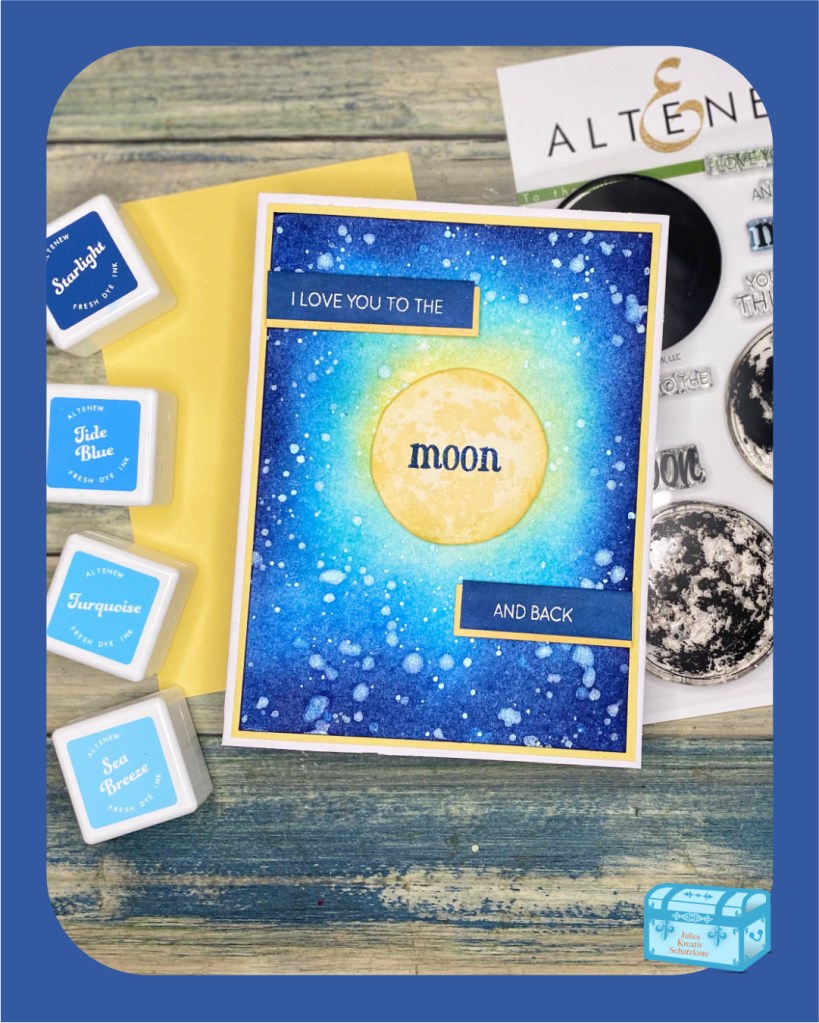
Um den Galaxiehintergrund zu blenden, habe ich in der Mitte meines Panels mit den gleichen zwei Gelbtönen wie beim Mond begonnen und dann das Deep Blue Seas Set verwendet und zum Rand hin dunkler geblendet.
For blending the galaxy background, I started in the middle of my panel with the same two shades of yellow as for the moon and then I used the Deep Blue Seas Set and blended darker towards the edge.
Mit metallischen Aquarellfarben in Silber und Blau habe ich die Sterne zu meiner Galaxie hinzugefügt, indem ich sie mit einem Pinsel aufgespritzt habe.
Using metallic watercolors in silver and blue, I added the stars to my galaxy by splattering with a paint brush.
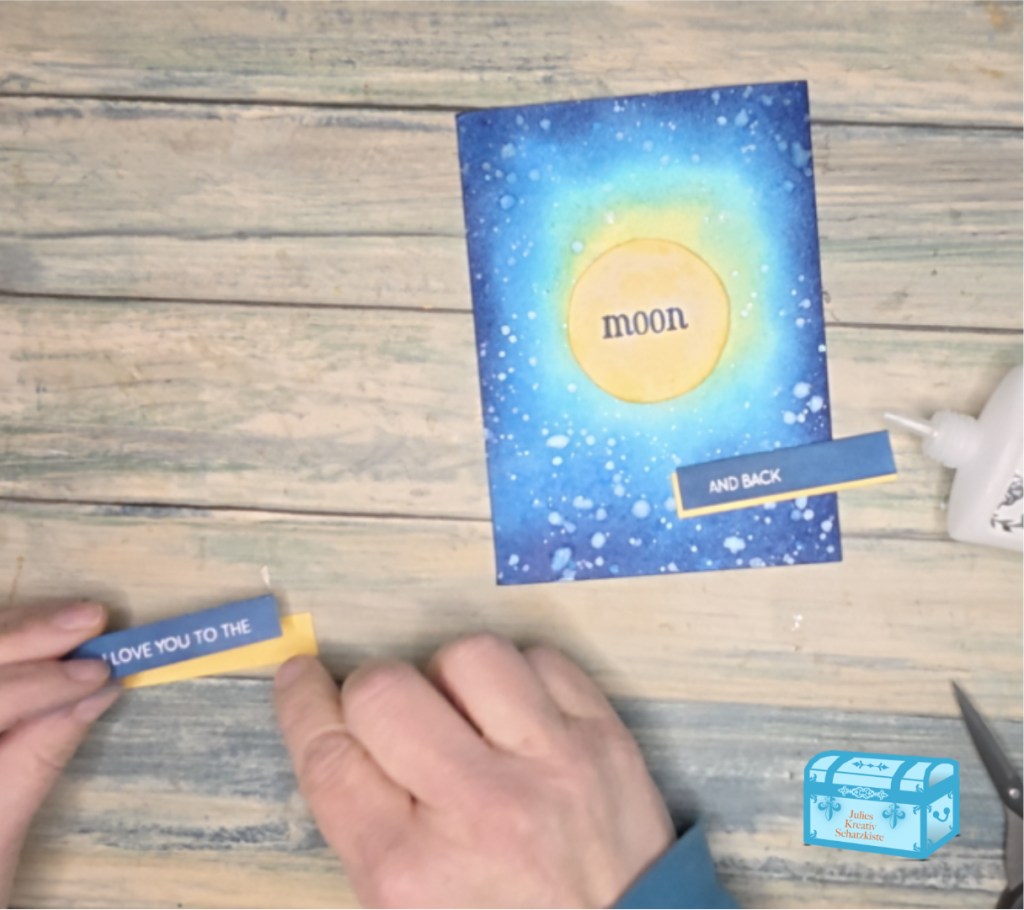
Zum Schluss habe ich den Spruch auf einen blauen Papierstreifen heat-embossed und für den Kontrast einen weiteren gelben Streifen darunter gelegt. Der „Mond“-Teil des Spruchs wurde direkt auf meinen Mond in der Mitte der Karte gestempelt.
Finally, I heat embossed the sentiment on an ink -blended blue strip of paper and put another yellow colored strip below for contrast. The „moon“ part of the sentiment was stamped directly onto my moon in the middle of the card.
Zum Schluss habe ich eine gelbe Mattierungsebene hinzugefügt und das gesamte Panel auf eine weiße Kartenbasis gelegt.
Finally, I added a yellow matting layer and put the entire panel on a white card base.
Ich bin begeistert von der Karte und kann es kaum erwarten, sie meinem Mann zu schenken! Ich habe auch einen You Tube Short über die Kartenproduktion erstellt, falls ihr ihn euch ansehen möchtet:
I love how the card turned out and cannot wait to give it to my hubby! I also made a Yout Tube Short on the creation of the card, if you would like to check it out:
Verwendete Materialien /Supplies Used
Altenew, To the Moon Stamp Set
Altenew, Sun-Kissed Delights Fresh Dye Ink Mini Cube Set
Ich freue mich riesig, denn ich wurde kürzlich in das Altenew Educator Certification Program (AECP) aufgenommen. Im Rahmen des Programms werde ich Karten erstellen, die von Online-Kursen auf der Altenew-Website inspiriert sind.
I am so excited, as I recently was accepted into the Altenew Educator Certification Program AECP. In the course of the program I will create cards inspired by online courses on the Altenew website.
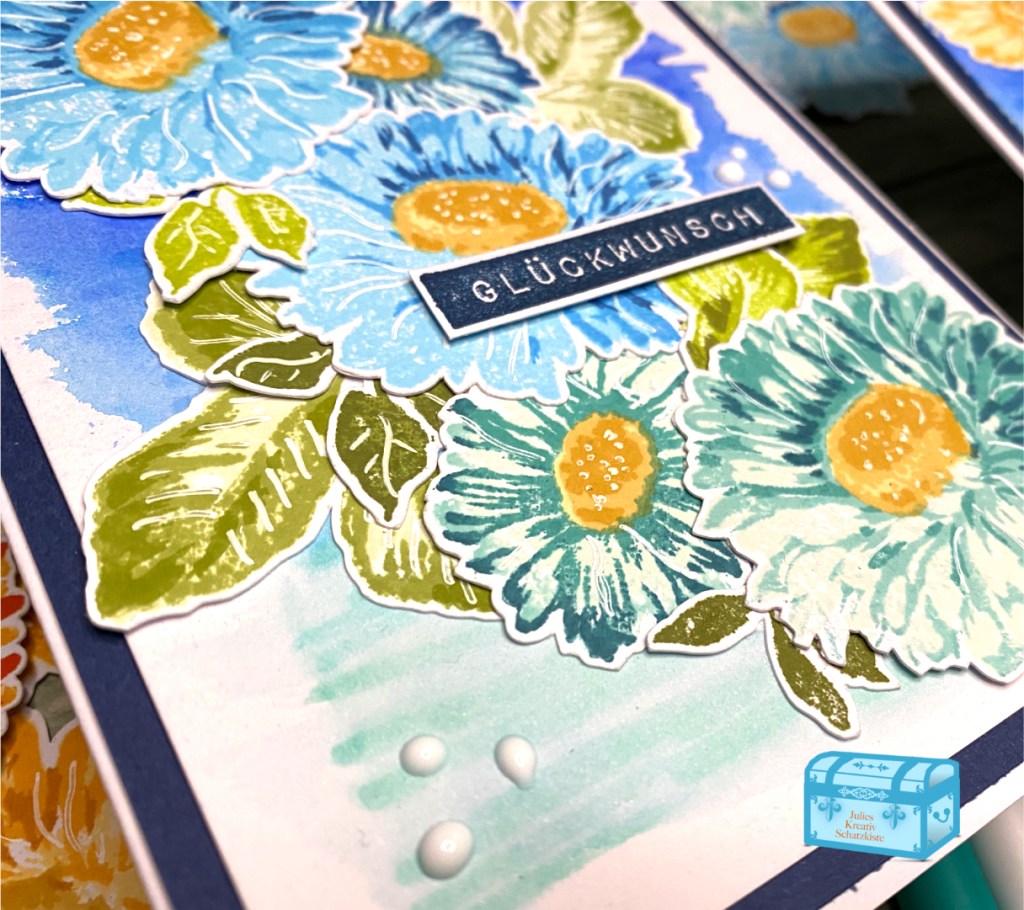
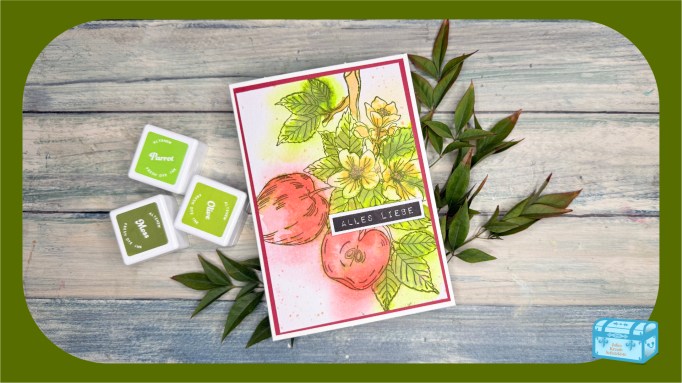
Meine erste Karte ist von der Faux-Aquarelltechnik inspiriert, die Amy Lee im Kurs „Easy Ink Blending Techniques“ zeigt.
My first card is inspired by the faux watercoloring technique which Amy Lee shows in the class „Easy Ink Blending Techniques“.
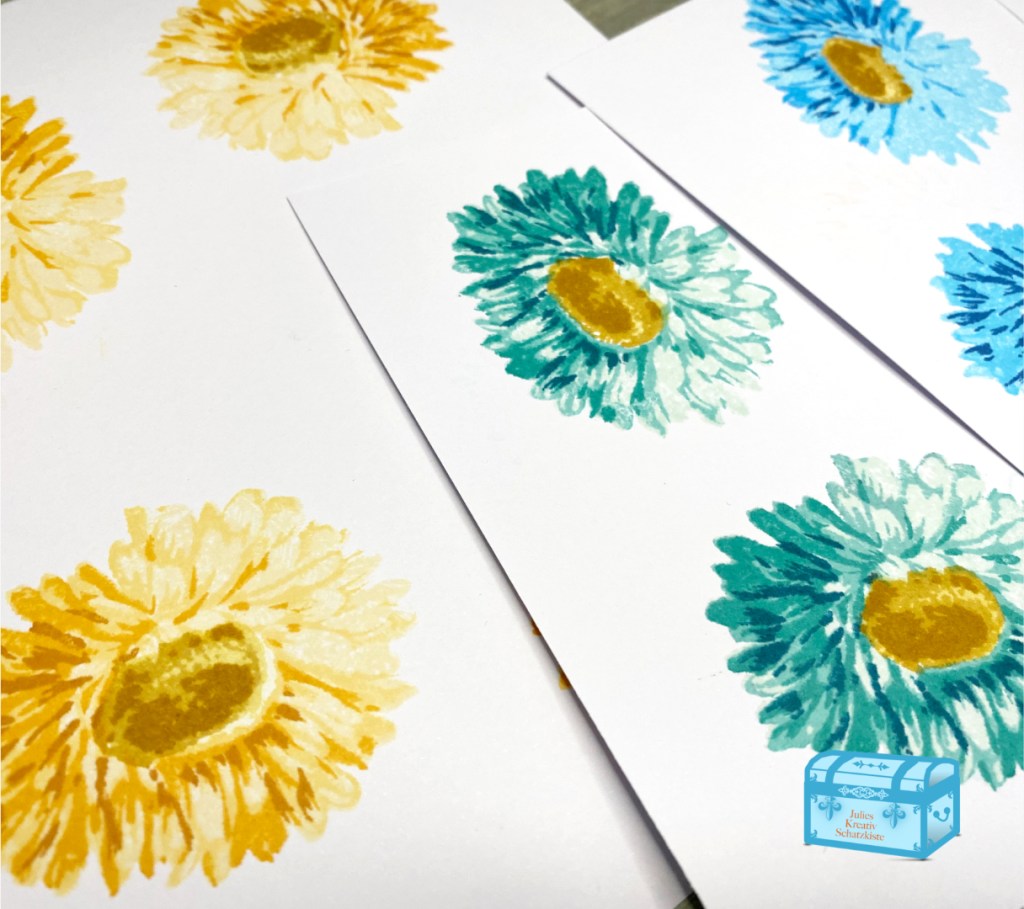
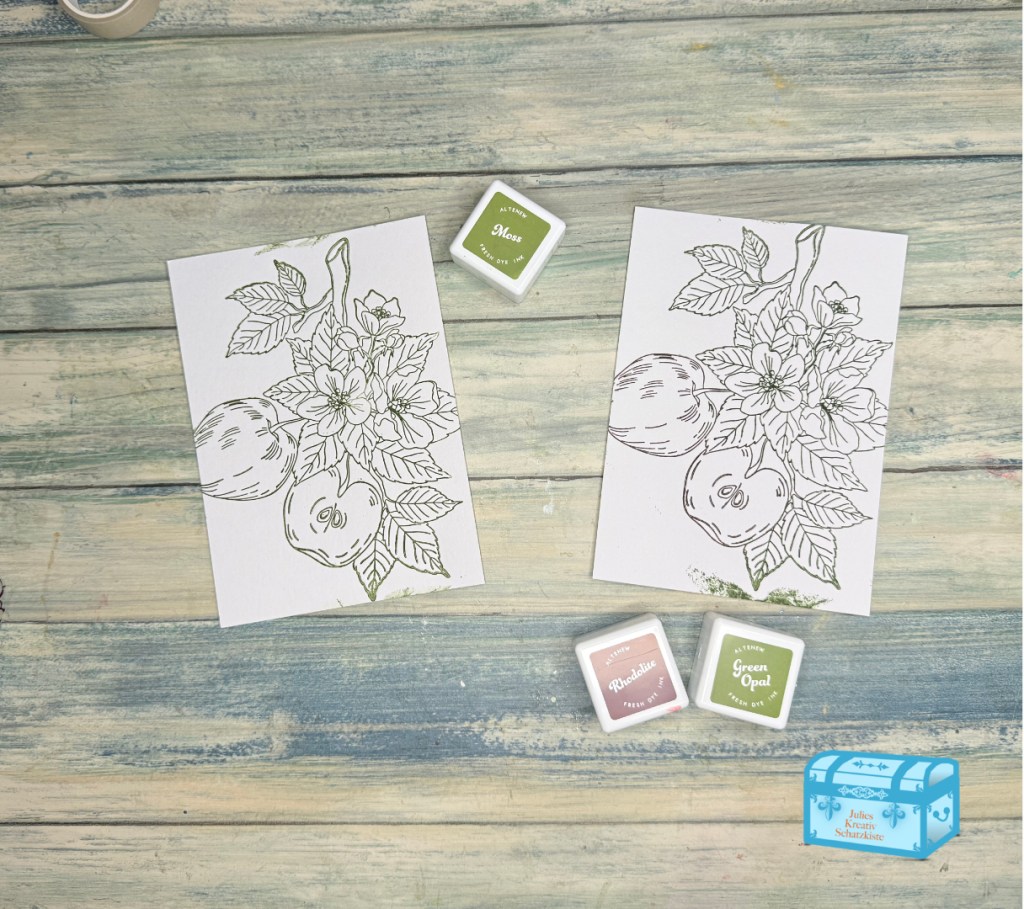
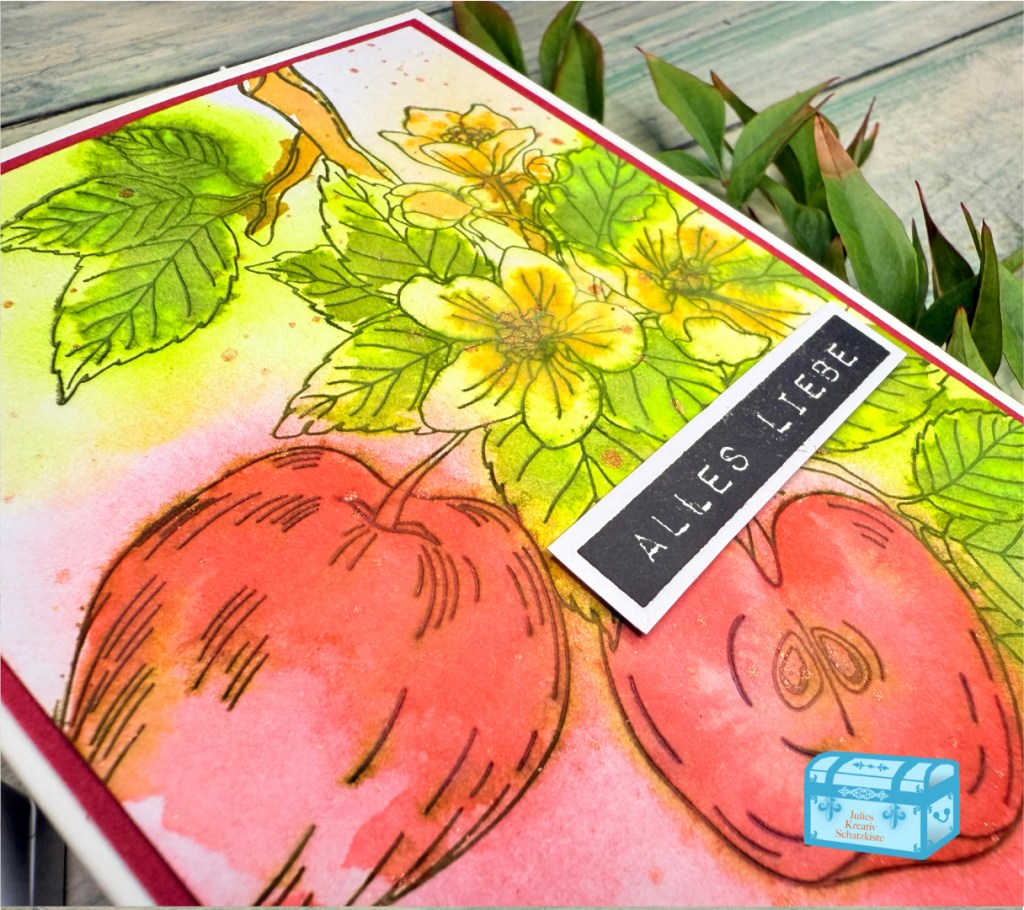
I started out by using the press plate in the Altenew set „Blossoming Apple“ auf Aquarellpapier. Die Druckplatte war mit der dunkelgrünen Fresh Dye-Tinte „Moss“ eingefärbt. Anschließend habe ich die helleren Farbtöne der Farbpakete „Carnival Magic“, „Tropical Forest“ und „Sun-Kissed Delights“ großzügig über die Bereiche der Blätter, Äpfel und Blüten verblendet. Dabei habe ich nicht besonders darauf geachtet, innerhalb der Linien der Druckplatte zu bleiben.
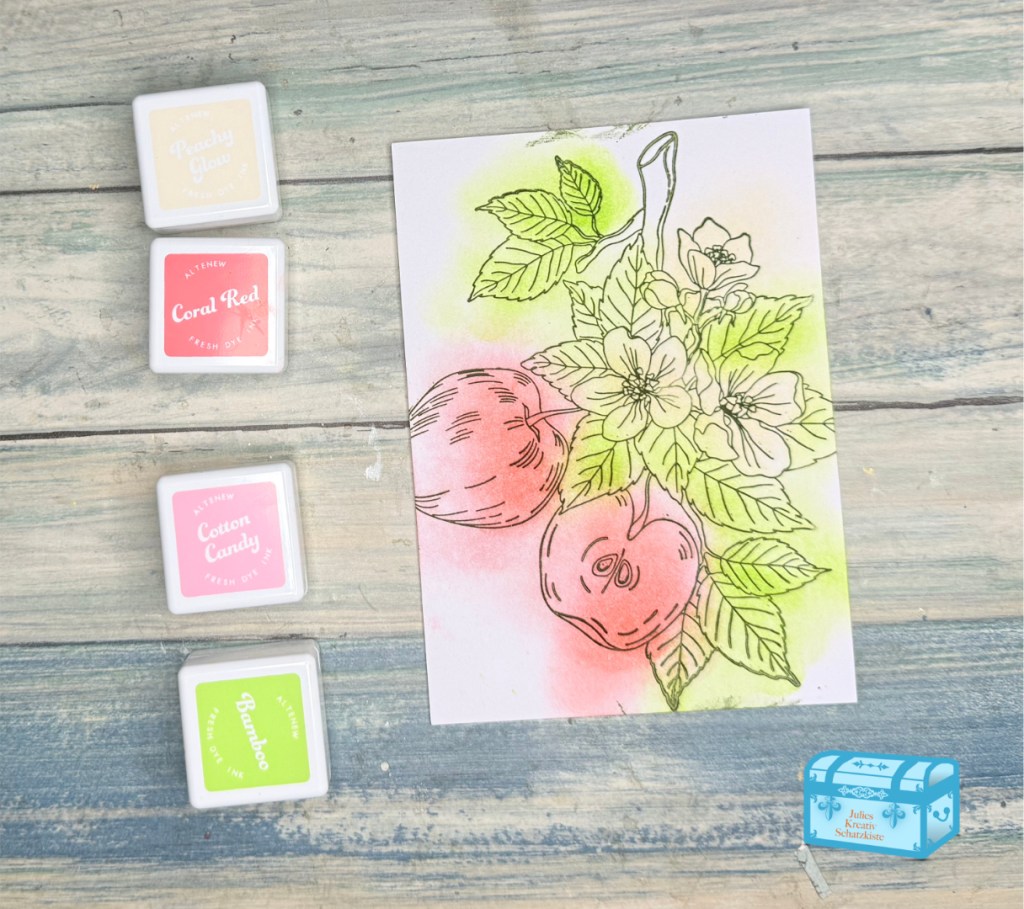
I started out by using the press plate in the Altenew set „Blossoming Apple“ on watercolor paper. The pressplate was inked up with the dark green „Moss“ fresh dye ink. I then used the lighter shades in the Carnival Magic, Tropical Forest and Sun-Kissed Delights Ink Bundles and blended generously over the areas of the leaves, apples and blossoms. When doing so, I did not care too much about staying within the lines of the press plate.
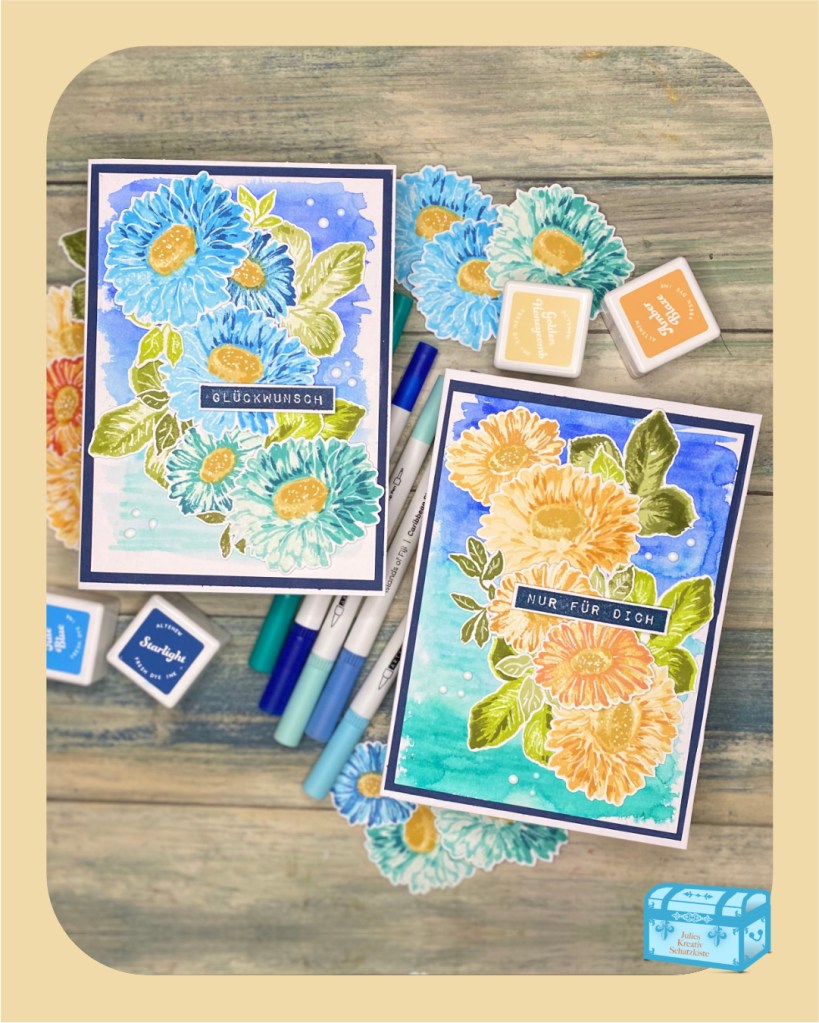
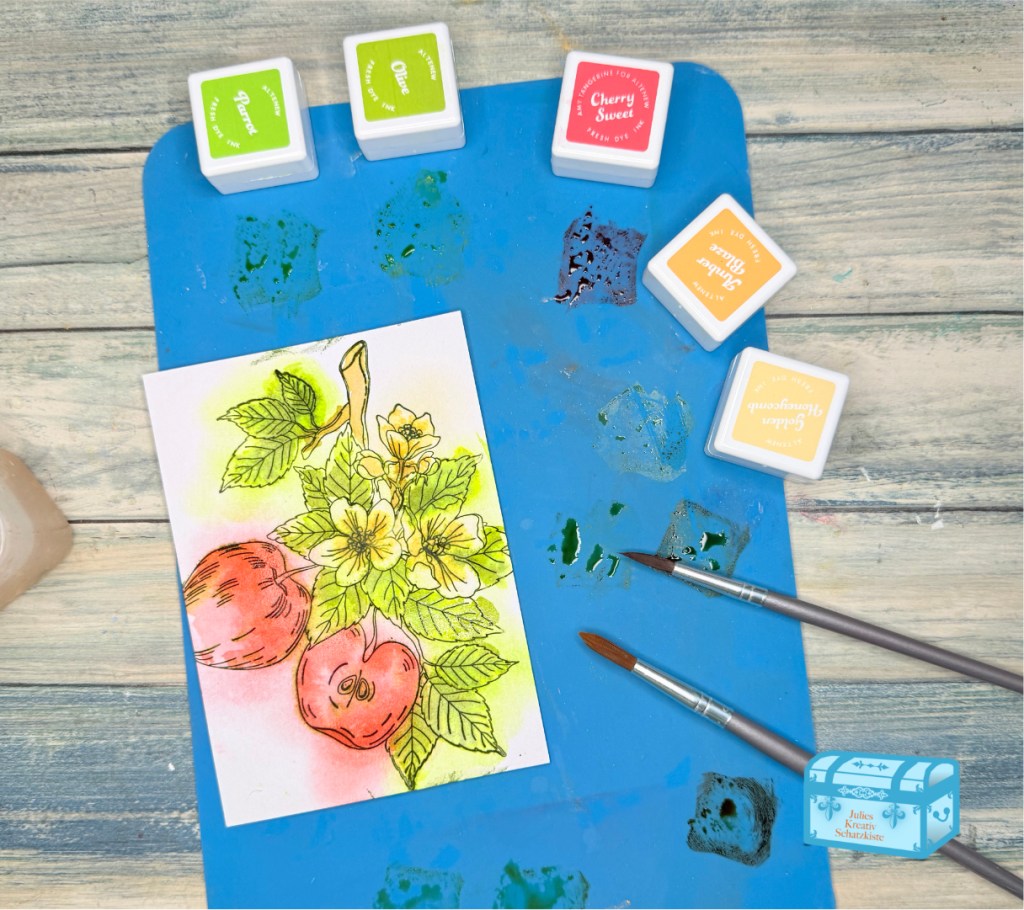
Anschließend habe ich die dunkleren Farbtöne der Stempelkissen mit Wasser und einem Pinsel auf mein Panel aufgetragen, das ich zuvor auf eine Matte gedrückt habe. Die Farben eignen sich schließlich perfekt zum Aquarellieren.
I then used the darker shades of the ink bundles with water and a brush to add ink to my panel which I had splashed out on a mat before. The inks are perfect for watercoloring, after all.
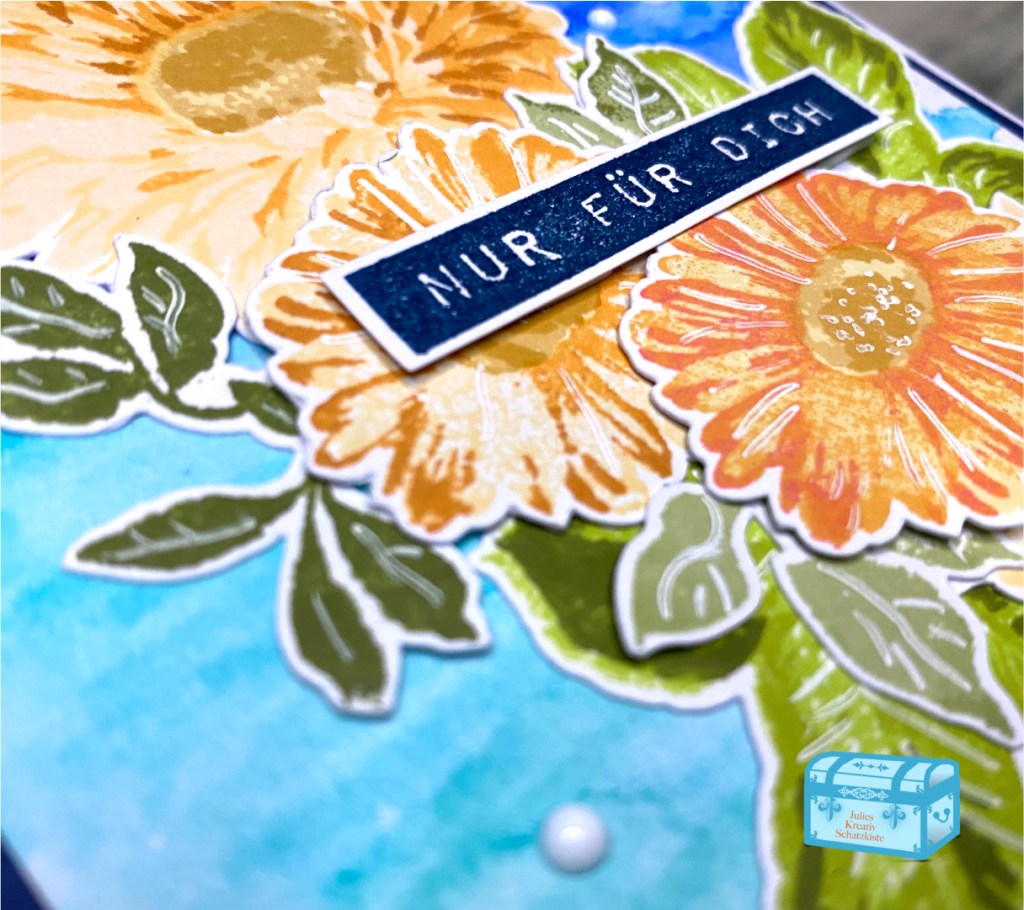
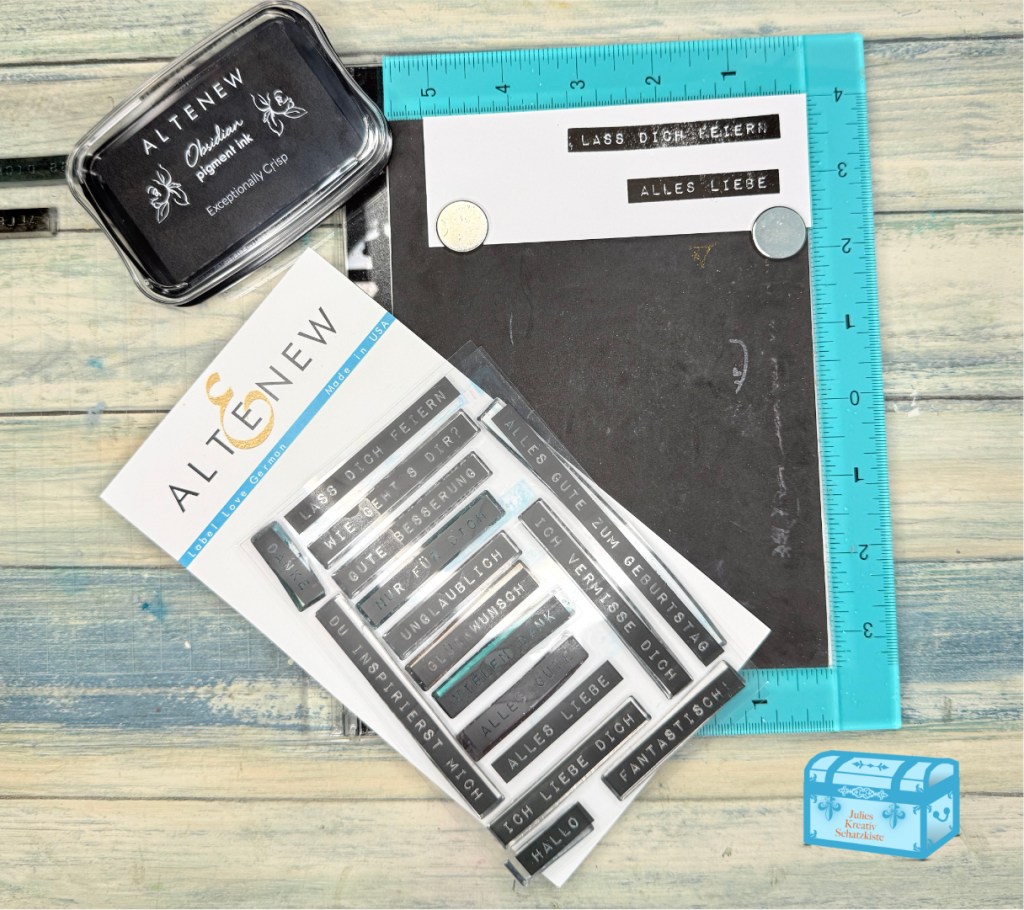
Im letzten Schritt habe ich einen Spruch aus dem German Label Love Set benutzt, den ich mit Obsidian Ink gestempelt habe.
In the final step I stamped out a sentiment from the German Label Love Set which I stamped in Obsidian Ink.
Mir gefällt die fertige Karte wirklich. Es war eigentlich so einfach und schnell, aber sie sieht wirklich „künstlerisch“ aus.
I love how the final card turned out, it was actually so easy and quick, but it looks really „artsy“.
Benutzte Produkte / Supplies used:
Altenew, Blossoming Apple Complete Bundle
Altenew, Carnival Magic Fresh Dye Ink Mini Cube Set
Altenew, Tropical Forest Mini Ink Cube Set
Altenew, Sun-Kissed Delights Fresh Dye Ink Mini Cube Set